
DIY saddle racks in storage position
This easy DIY comes from the folks at the Internet Hay Exchange.
Materials lists:
- Scrap piece of 2×4 lumber between 18 and 24 inches in length
- #2 Eye Bolt (eye hole is about one inch in diameter)
- Four-inch Rope Hook
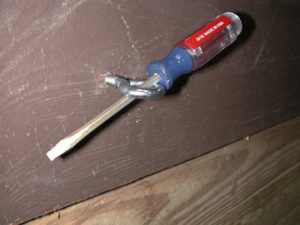
Tool list:
- Philips Screw Driver
- Tape Measure
- Power Drill
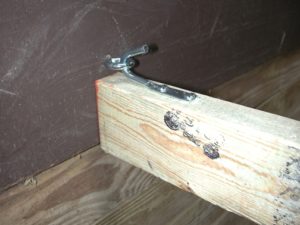
Drill a small pilot hole more or less in the solid wood wall where you would like your saddle rack to be. Use a drill bit which is about half the diameter of the eye bolt.
 Screw in the eye bolt, but leave some length for fine-tuning.
To make the part the saddle will rest on, attach the rope hook to the narrow side of the 2×4. Drill two pilot holes with a drill bit half the diameter of the wood screw. It is important to set the rope hook at least an inch from the end of the 2×4. Test your placement by holding wood with rope hook up to eye bolt. If the rope hook was run up flush with the end of the 2×4 the saddle rack will sag and the saddle would likely slip off.
Once the eye bolt is screwed in to the proper depth and the rope hook is properly attached, put the two pieces together.
 Voila!
Turn the rack sideways for a storage position, relatively flush against the wall.
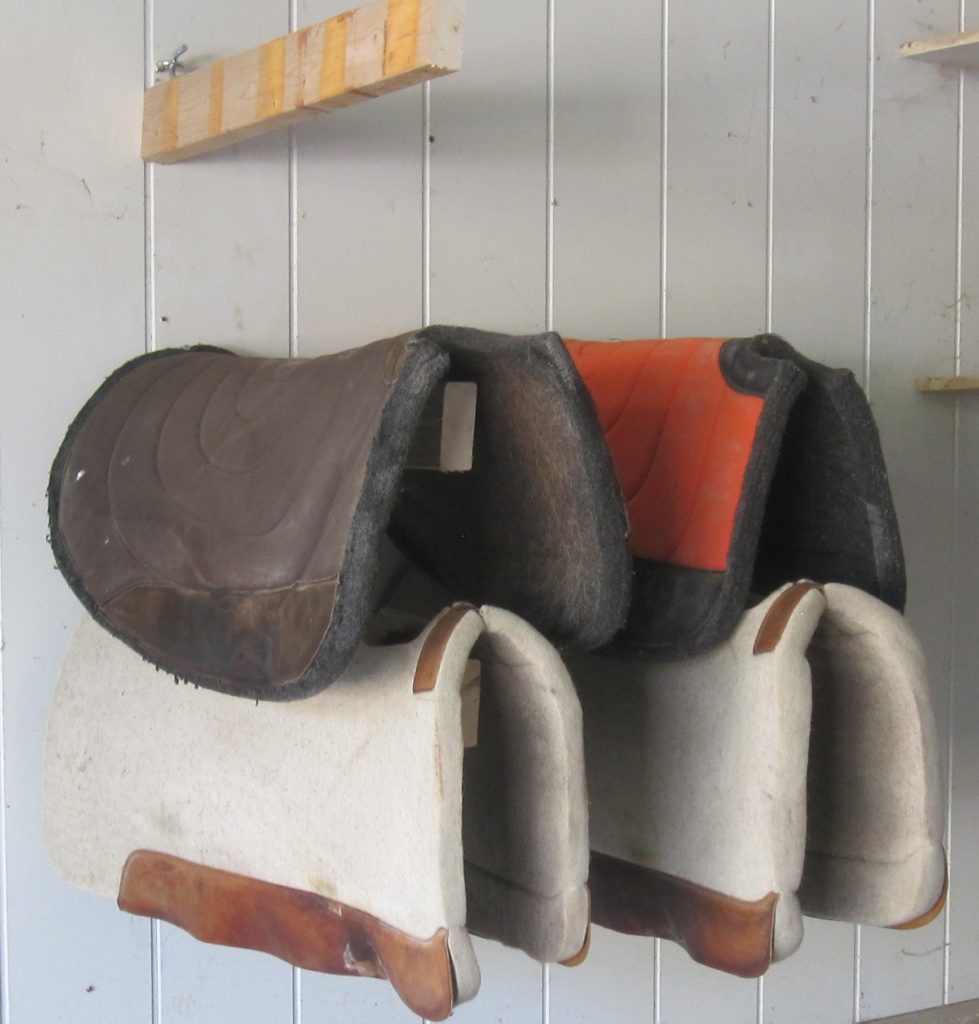
when I first saw the image I was impressed that you were throwing saddles up that high!
the top ones for blankets make more sense. I have had one in my barn isle for many years. It’s a 4×4, with the hardware on the angle so the saddle stays on well. Available when needed and out of the way when not. I’ve also tried cut down broken fence rails but find the saddles roll off too easily when the cats jump up on them.
These are awesome!