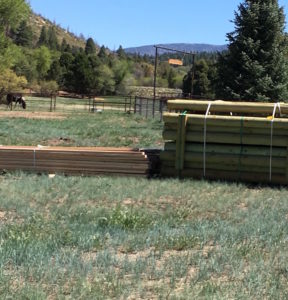
It starts with a big pile of lumber
With guidance from the Natural Resources Conservation Service (an agency of the Department of Agriculture charged with helping farmers and ranchers to optimize pasture health, among other missions), I’m building a dry lot.
A dry lot is a space in which horses can move freely, eat hay, drink water, and lick salt while staying off pasture. Construction of the dry lot will help the larger pasture recover from several seasons of overgrazing.
I’m excited. And sweaty.
Check out our DIY Index for more projects.

Implements for straightness: baling twine, level, and heavy steel pipe for tamping down dirt around posts.
First, I picked an area that would allow for several horses to move freely while being away from my well (to avoid contamination from this concentrated area of pooping) and situated for easy viewing from the house. It is an irregular rectangle measuring about 100 x 145 x 150 x 160 feet.
As with the DIY Round Pen project, it all started with a big pile of wood. Specifically, I purchased about 50 posts (eight feet long, six inches in diameter) and 70 lengths of two-by-six lumber (16 feet in length).
- Measurements: With tape and a long length of baling twine, I lined out where the fence would go and dropped flags where each post hole would go (every eight feet)
- Post Hole Digging: a dear friend with an auger dug over 50 post holes (three feet deep and nine inches wide)
- Post setting: each 8-foot, 6 inch diameter, pressure-treated post was set, dirt tamped down, and leveled.
- Rail measurements and setting: I strung another line and set screws on which to place the 2 x 6 rails. The screws – nails would have worked, too – serve as mini-ledges so that you don’t need a helper. (Yes, with exception of the posthole digging, this dry lot was constructed with no assistance.).
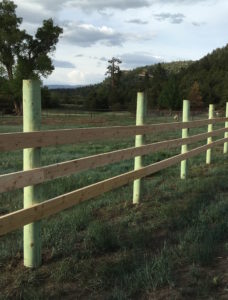
- Rails cut and screwed to posts. Even when posts are set accurately, the eight-foot spans between them end up varying by an inch or three. I ran a cord for the skilsaw and used my truck as a sawhorse. I measured, marked with speed square, and cut each length appropriately.
- Measure and cut the posts with a chain saw (image at right is before cutting).
All told, the project cost about $2,400 and took about a week of steady work.
Voila!
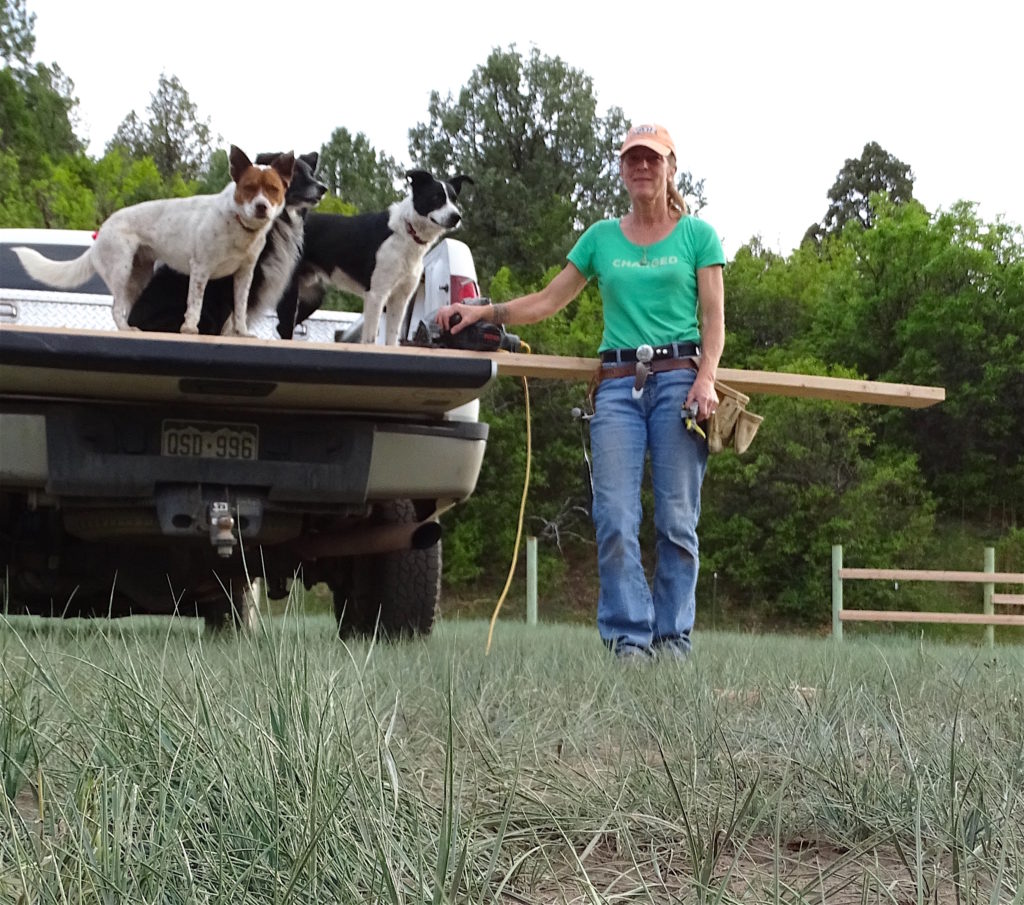
Footnote: I worked for a carpenter for several years and picked up essential skills that help me in property maintenance and improvement.
With helpers
Thanks for sharing. What you describe is building a rail fence , not necessarily a dry lot. Can you tell us what you did to kill the grass/upgrade footing for the dry lot? Or did you fence in a separate pasture to allow rotational grazing between two pastures?
Aisha, not sure if I understand your question. But here goes: I let the horse traffic reduce the dry lot footing to dirt. I also added several cubic yards of wood chips from another project I had. The Dry Lot has gates to two separate pasture, one to the east and one to the west.